
Many, many years ago. When I got my first career job and Taylor Corporation, with my first paycheck I bought my first sewing machine. I was a singer brand and I bought it from Walmart for $100.
My boss was pregnant with her first child and I had it in my head that I wanted to make her a baby blanket with the silk edging. So I went on Pinterest in search of a tutorial on how to make a blanket with silk blanket binding.
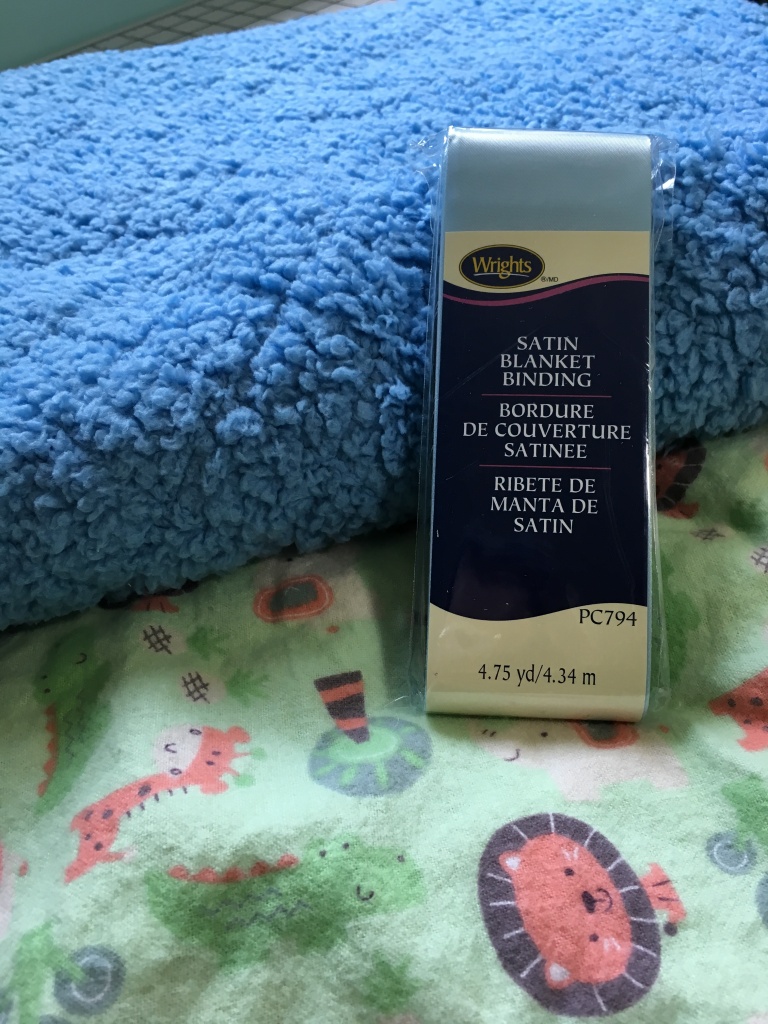
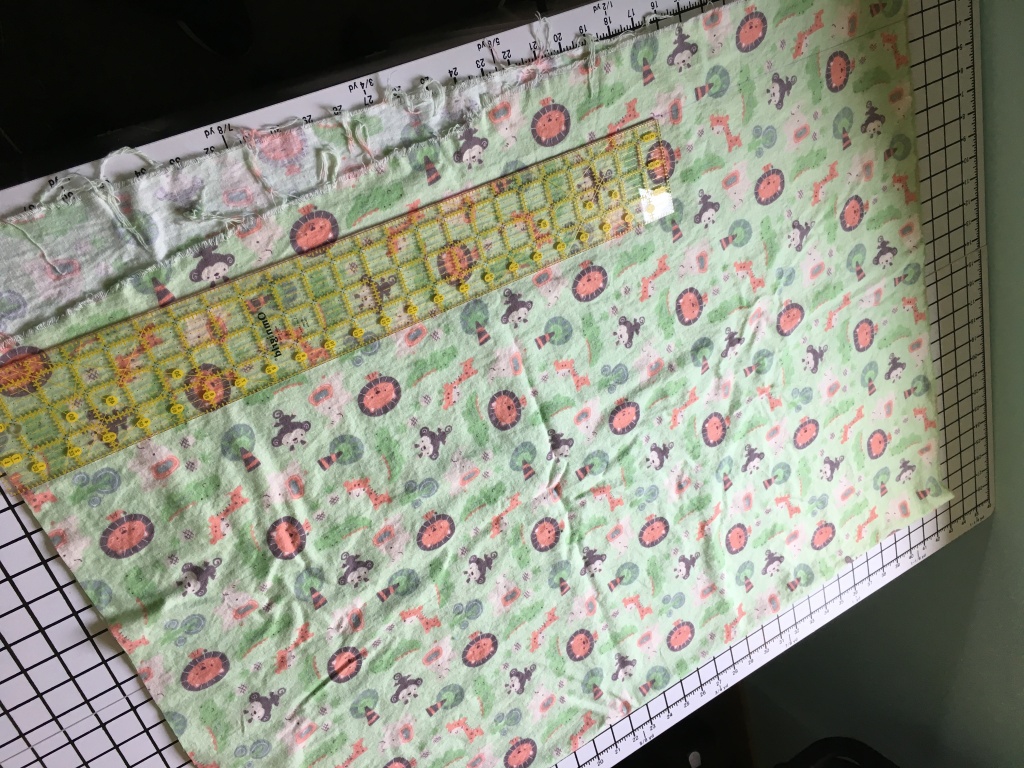
I found one that was easy for a novice sewer, so then I headed to Joann Fabrics to get some supplies. The instructions call for 1 yard of Flannel fabric, 1 yard of Fleece, or Minky fabric and one package of blanket binding to match. Of course, I bought double of what I needed. In case I messed up the first one and I didn’t want to run back to the store.
Instructions:
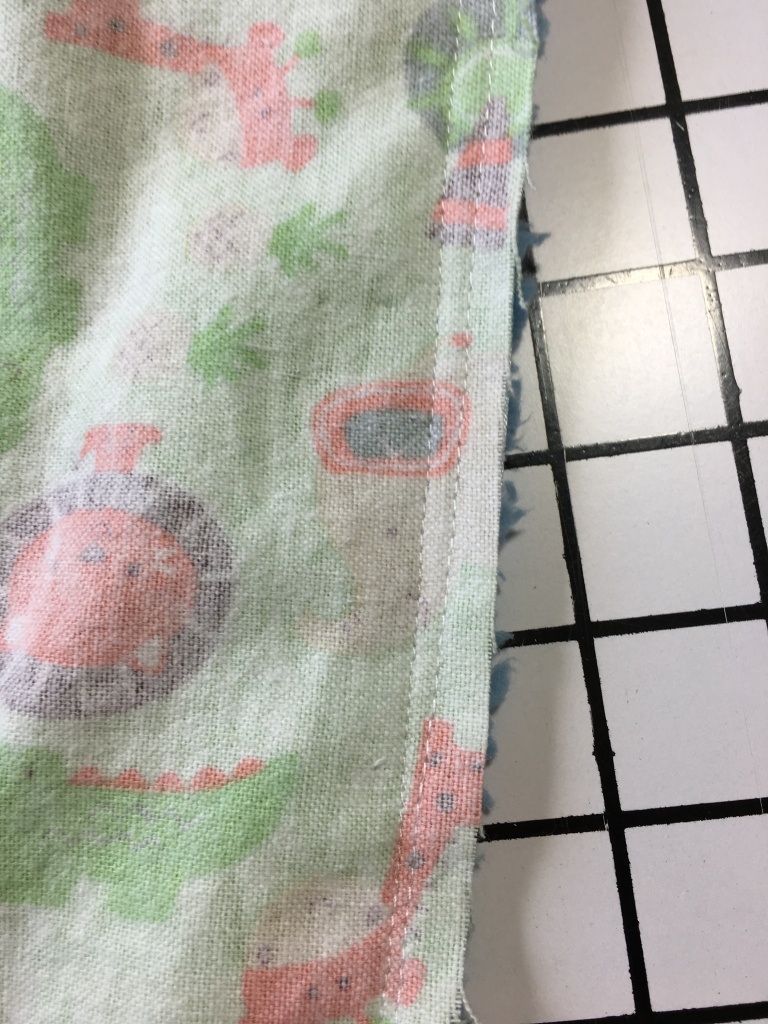
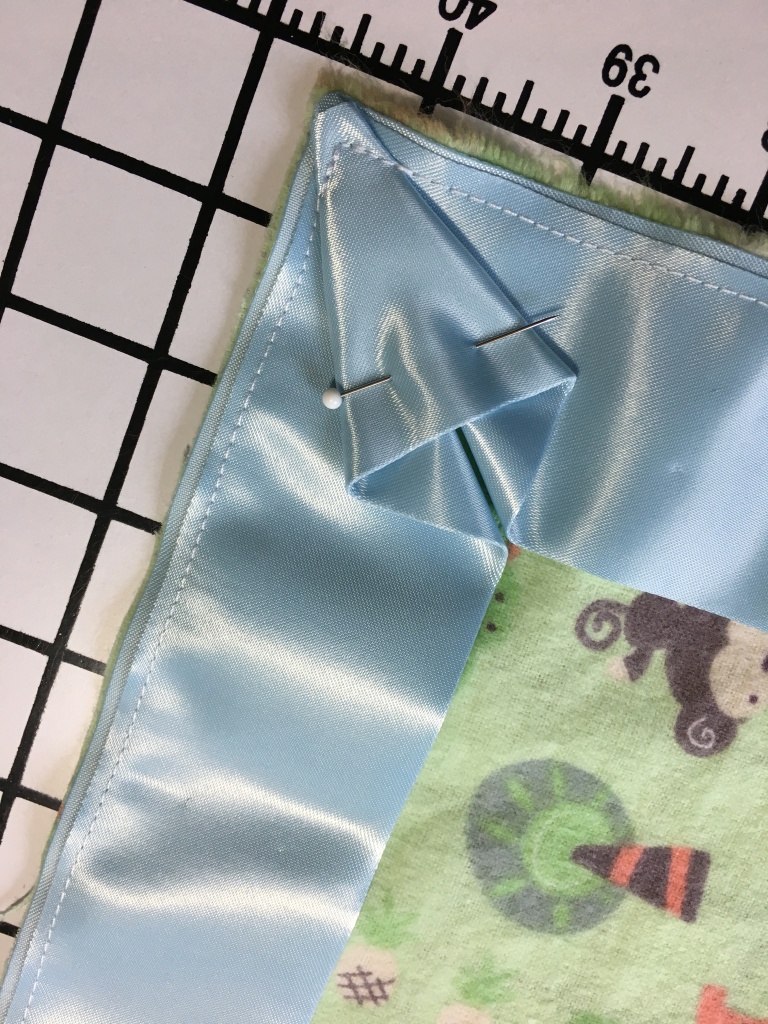
First, take the 1 yd of flannel, and pin the blanket binding around the outside. The two layers should be facing out and the fold should be forward the center of the fabric. The corners are the difficult part. You can round the corners and use several pins to make the blanket binding take the correct shape, or you can keep the corners square and pin the corners like I have done in the image below.
Once you have finished pinning down the blanket binding. Sew the binding to the flannel fabric.


Next, place the flannel fabric on top of the other fabric you purchased so the right sides of the fabric are facing each other. The blanket binding should be sandwiched between the two fabrics. Pin the two fabrics together.
This time when you sew, make sure your sewing machine needle is in farther (closer to the inside of the fabric) than your last sewing line. We are doing this because we don’t want the first sewing line to show once we flip the material right side out.
When you get to the corners, you might want to back stitch a little, to make sure the corners are strong and sometimes the fabric gets too think and likes to skip a stitch.

Make sure you stop sewing about a hands width from where you started. A hands width is about as much space as you will need to flip the fabric through.
Flip your blanket right side out.
Check your corners and make sure they look right and you didn’t catch any extra blanket binding.
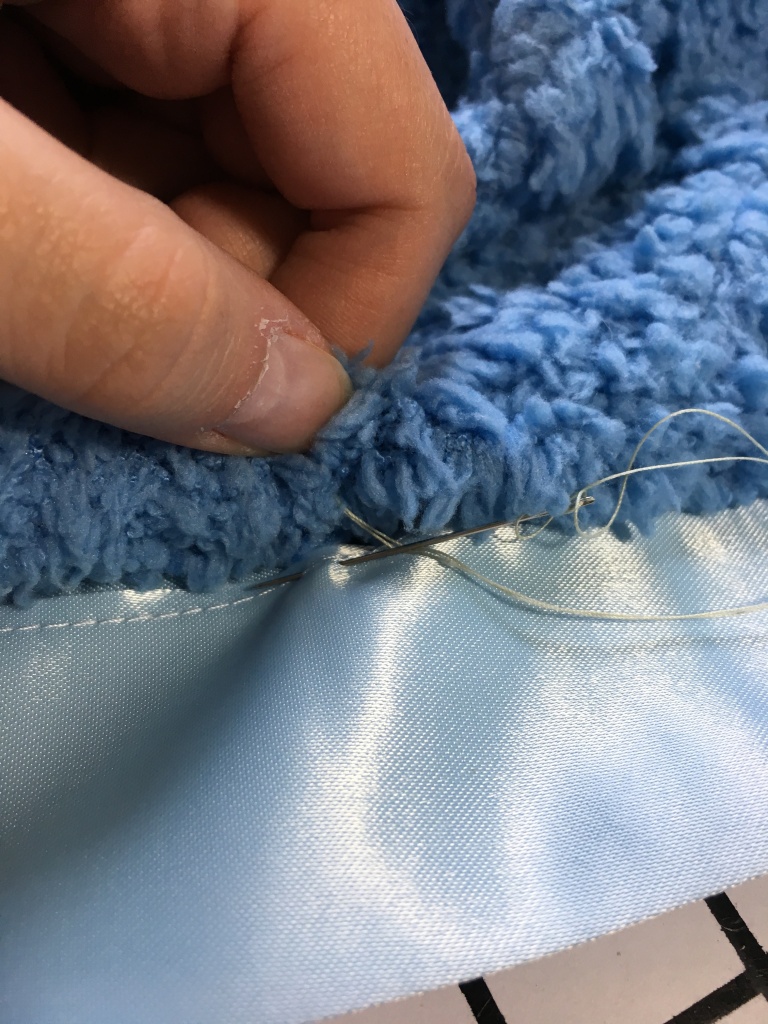
Once you’ve done that, you can either hand sew the remaining opening closed, or you can top stitch using your sewing machine the opening closed, or you can top stitch the blanket all the way around. I have been gravitating towards topstitching the blanket all the way around lately, that is if I have enough time.
There you have it! A custom baby blanket perfect for your little one or for a gift.
This isn’t the exact tutorial I found on Pinterest but it walks through the same steps with the rounded corners and they make their own ruffled blanket binding.
https://sew4home.com/projects/bed-linens/lush-plush-trends-fabriccom-minky-and-satin-baby-blankets
If you would like a video tutorial, please comment below.
Comment below, does your Little One have a favorite blanket?
For more creative ideas follow me on Pinterest.
#CraftFast #Baby #DIY #BabyBlanket #Crafty #Sewing #SewingMama #MomLife
January 18, 2024 at 10:40 pm
[…] favorite crafts to do are baby blankets. You can check out my tutorial “1 Hour Baby Blanket” to learn more on how to make quick beautiful 1-yard baby blankets for someone you […]